My little (but tall) brother just had a birthday over the week of the Fourth of July. He loves himself some Sponge Bob and so I wanted to give him a special party all about Sponge Bob. But also his most favorite dessert is cheesecake and I had to think how I could make that fit. I made these different treats for his fun little party.
They were:
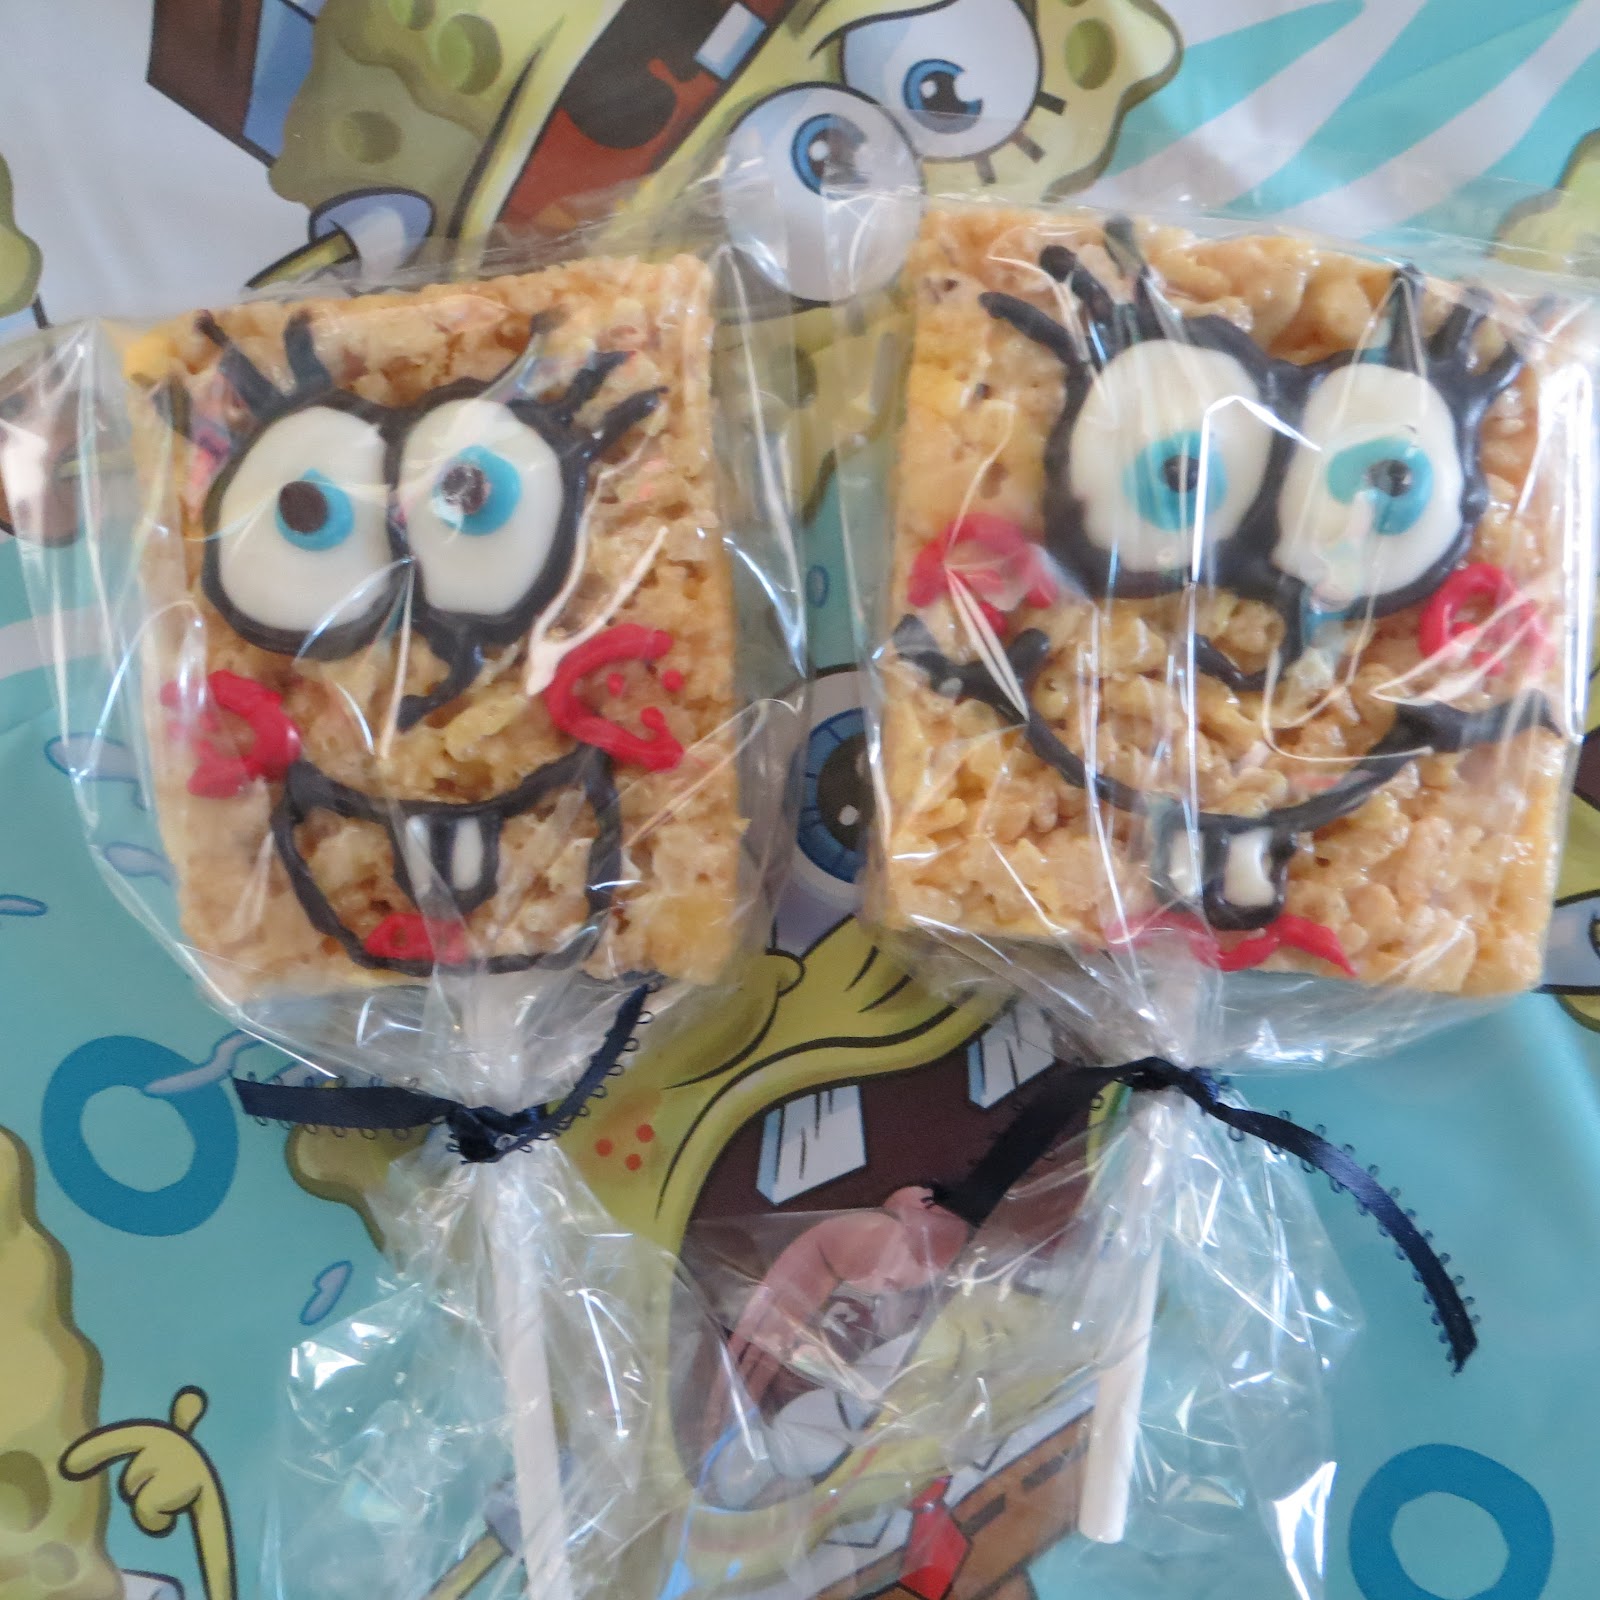
Sponge Bob Rice krispie Treats
Pineapple cake pop homes
Cheesecake in a jar
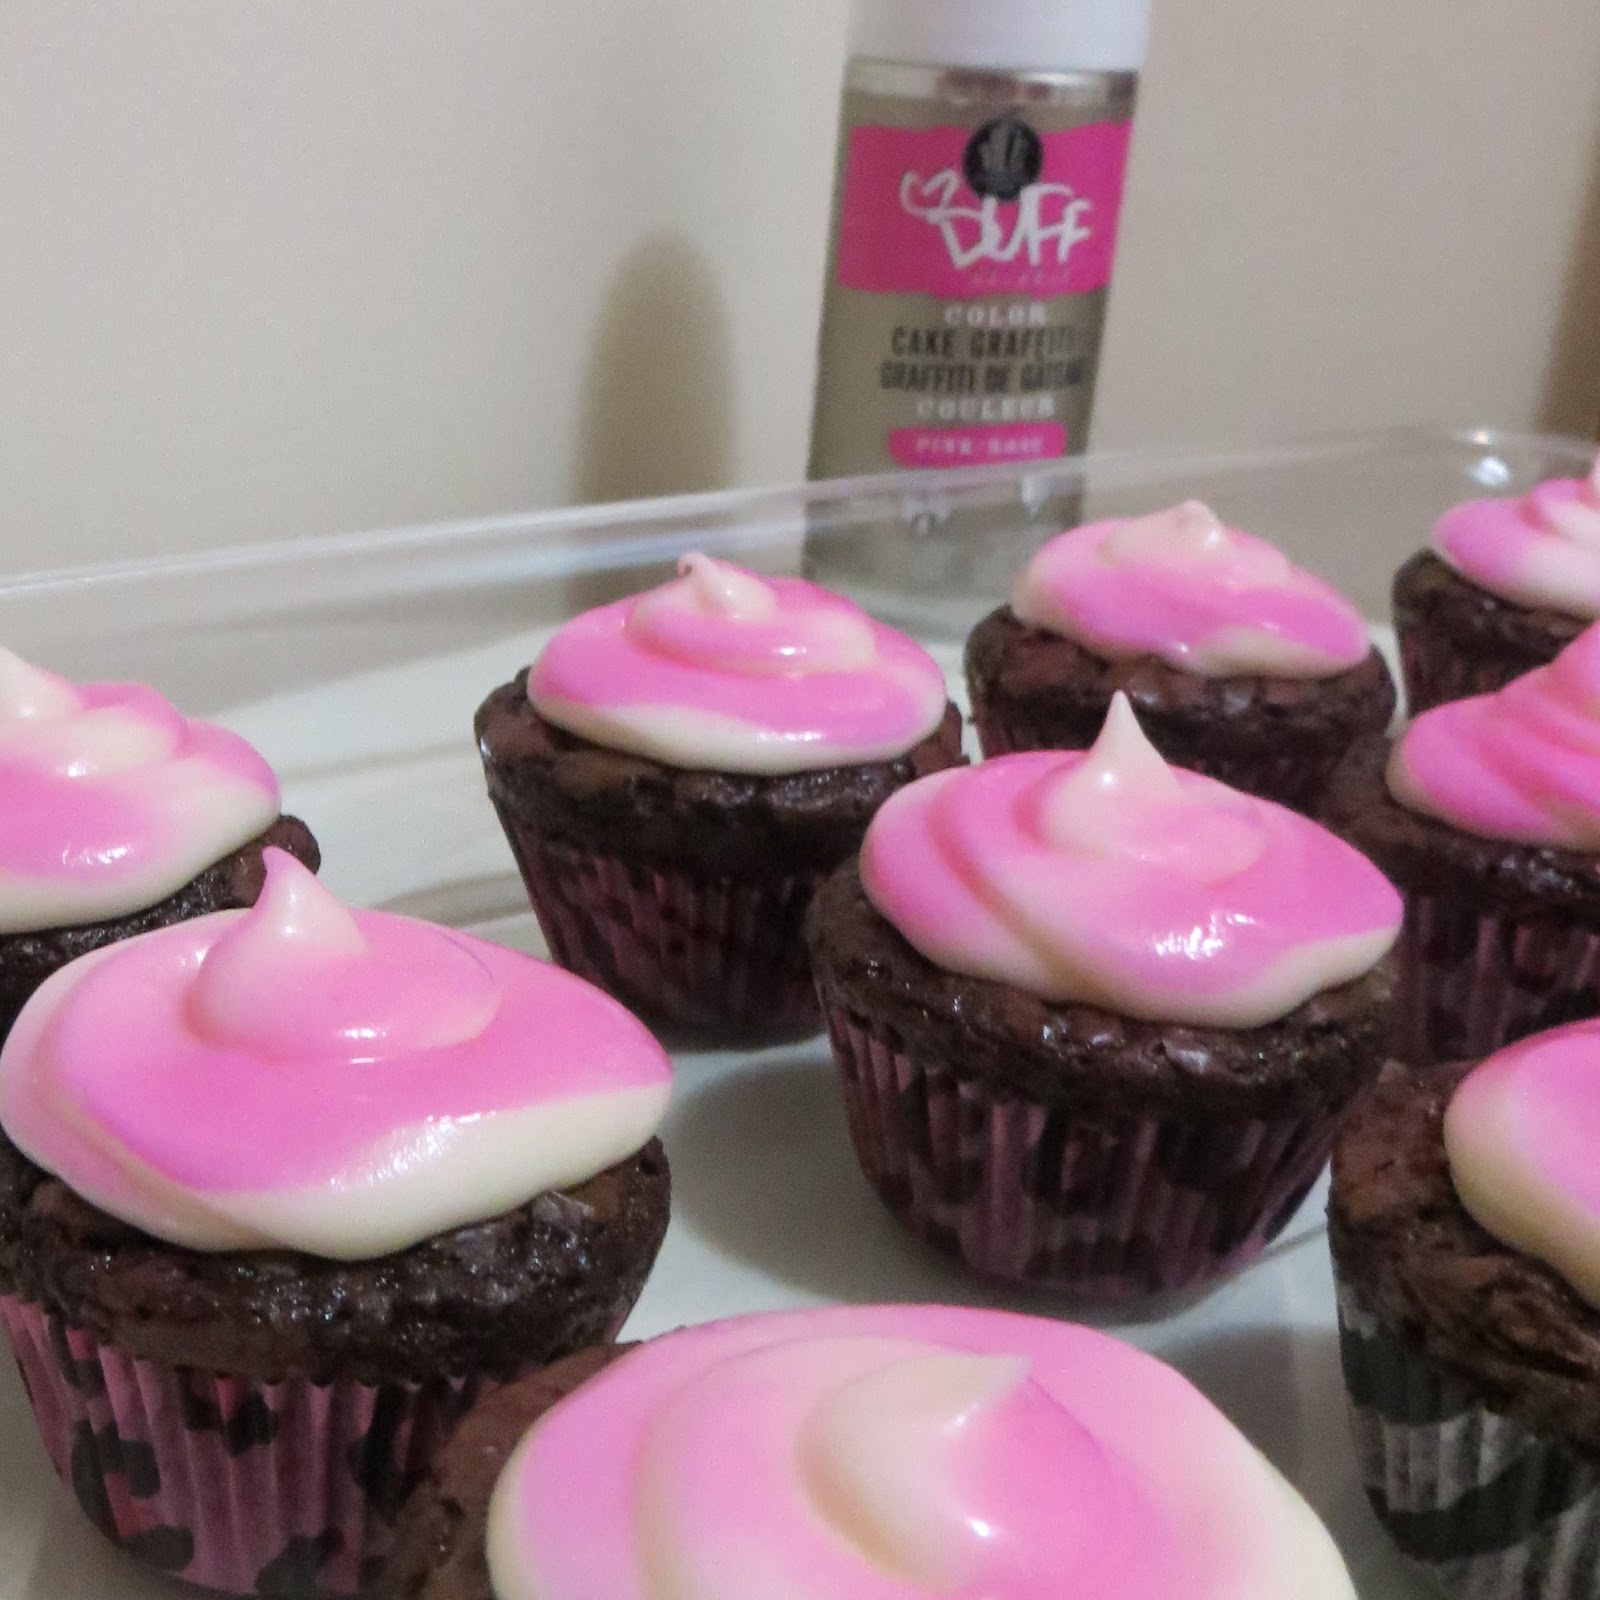
Cake pops
These where not so easy for me to make this time around. As you can see they do not have the green tops like a pineapple would have because what I made just did not set right. But the Cake pop itself did look good.
Sponge Bob Rice Treats
What you will need:
1 1/2 tablespoons butter
2 1/4 cups small marshmallows
3 cups Rice Krispies cereal
Yellow, black, white, and blue melting choc.
Make the rice treats and add in some yellow melting choc before pressing into a sheet pan. Once treats are set cut into squares and add the cookie sticks into one bottom. Pip on the face!!
Cheesecake in a Jar
Ingredients: Small jars will make about 15 jars
2 cups graham cracker crumbs
2 tablespoons sugar
8 tablespoons butter, melted
4 8-ounce packages of cream cheese, room temp.
3/4 cup sugar
4 eggs
1 cup sour cream
1 teaspoon vanilla extract
zest of lemon
Toppings: be creative!!
I make choc. chip and Carmel nut and plain

Directions: Pre heat oven 325 degrees F. 1. Spray all the jars with spray oil, really make sure the bottom is covered well. 2. Blend the graham cracker, 2 tbs sugar, and melted butter. Place a heaping tablespoon into the bottom of each jar. Press down with the spoon until packed down well. 3. In a large mixing bowl, mix the cream cheese and sugar until well blended. Add the eggs, one at a time and mix well. Add the sour cream, vanilla, and lemon zest and mix well. Using a 1/3 cup fill each jar with the cream mixture. 4. Place the jars into a large baking dish. Make sure they are spaces will apart in order for even cooking. Fill the base of the baking dish with water until it fills up to about half of the jars. Place into the Oven. Bake for 30 mins., once done remove with tongs and allow to cool.

 The desk chair was an old chair handed down and I painted and recovered. I have fallen in love with the material I found for this chair.