Sunday, July 6, 2014

Princess Sofia

Sofia the first is a Disney Jr. princess that most little girls love and want to be like.  She is sweet, kind, and helpful which is what every mother wishes for her little girl.  I was asked to create a cake that represented Sofia without having her right out on the cake which I do prefer to make.  I got to try out a few new techniques on this cake which I loved learning.
The Bottom level cake was created with fondant to create the look of a skirt and the top level cake I used butter cream to make roses with a few fondant flowers.  I also learned how to make a princess crown out of gym paste and Sofia's necklace.

I would like to share how I did the bottom tier to make the skirt look, out of fondant:


 You will need:  Fondant circle cutter, form square, ball tool, and saran wrap
     Cut out a handful of circles and cover with the saran wrap. This will help the fondant from drying out right away. Place a couple of the circles on the form square and use the ball tool to flatten out half of the circle.  Press the side of the circle you did not press flat onto the cake in a neat row around the circumference of the cake.  As you can see in the picture below the side of the fondant circle you rolled out flat has a flowing look to it.  I used my fingers to help add a little detail for a flow to the skirt.

 As you start the next layer of circles do not make them flush with the bottom layer
I added white pearls to give a jewel affect to the top level.  Play with the skirt until you like the looks of the flow.  Add the second layer of cake after you have finished adding the fondant circles.  Put at least three wooden dowels into the top of your cake to help it be sturdy.  Now add your rose butter cream design around the sides.  I put a large circle of purple fondant on the top of the cake to place the crown and number five onto.


Now to the crown and necklace this was my first time working with gym paste which hardens faster then fondant and holds a much stronger piece.  I am not going to explain how I made these because I need more practice before being able to explain.  But if you want to learn how watch videos on you tube, that is what I did. :)


Tuesday, June 3, 2014

Tea Party for a Princess

      Every little princess should have a tea party, may it be big or small.  I am six months pregnant and have been quite ill for the majority of the time.  I have felt so guilty about not being able to do much with my three year old I felt we needed to have a little tea party for her to meet a couple of the girls around us.  She was in seventh heaven while I was making all the little treats and when the girls all came in their pretty dresses.  It warmed my heart to see her love every moment and I cannot wait to build more memories as the years go by.


    We had tea sandwhiches, fruit, and veggies.  Then Mini cupcakes and rice treats, along with Lemon tea and Lemonade.  The theme was flowers and butterflies with tons of pink.  Each girl got to paint a butterfly picture frame which was so much fun to see their creative side. 
I am so blessed to be a mom of a great little girl and cannot wait for more smiles and tea parties!!


Saturday, May 31, 2014

Blueberry Scones

Oh me, Oh my I found this scone recipe that was so yummy, I just have to share with you all.  I got the basic recipe from "Moneysavingmom.com" but changed a few things to make it just a little better.

Pre-heat oven to 400.
Blueberry Scone ingredients:

2 cups unbleached flour (you can use white, wheat, or gluten free)
2 teaspoons baking powder
1/2 teaspoon baking soda
1/2  teaspoon salt
1/2 cup cold butter
1 egg separated
3 Tablespoons honey
1/2 cup buttermilk ( if you do not have use 1/2 cup milk and 1/2 teaspoon lemon juice)
1/2 - 1 cup blueberries ( I do not like a ton of berries so I use 1/2 cup but I know some of you love tons of berries)
1/3 cup brown sugar
Cinnamon

Glaze:
1 tablespoon milk
1/2 teaspoon Almond extract
4 tablespoons powder sugar ( if you glaze is to runny for you just add a bit more sugar till it is as thick as you like.)

Directions:
1.  In a medium bowl combine flour, baking powder, baking soda, and salt.  Cut in the cold butter with two forks or a pasty cutter until mixture is crumbly.
2.  In a small bowl combine the egg YOLK ( put the white to the side as you will need it later), honey, and buttermilk or milk and lemon juice.  I did not have buttermilk so I did the alternative and it turned out great.
3. Once liquid is mixed well add to the dry bowl and combine to make a dough ball ( it will still be a little crumbly)
4.  Add the blueberries and mix in carefully with your hands.
5.  Get out a cookie sheet and spray with spray oil.  Place scone dough in the center of the pan and flatten into a circle with your hands.  It will not need to be perfect or thin.
6. Sprinkle the brown sugar and cinnamon over the top.
7. Cut the dough into eight pieces (I used a pizza cutter but a knife will work great also) and separate just a little so they cook all the way around each piece. 
8.  Cook for 15 minutes  (check that it is cooked all the way through, mine took a little more time because my oven is never up to the right temp)

9.  In a little bowl combine the Glaze ingredients until the thickness you like for a glaze.
10.  Add glaze to the top of each scone and some extra Blueberries.  Eat while warm or if you like them cold they are just as yummy!!!

Monday, April 14, 2014

Colorful Easter cupcakes

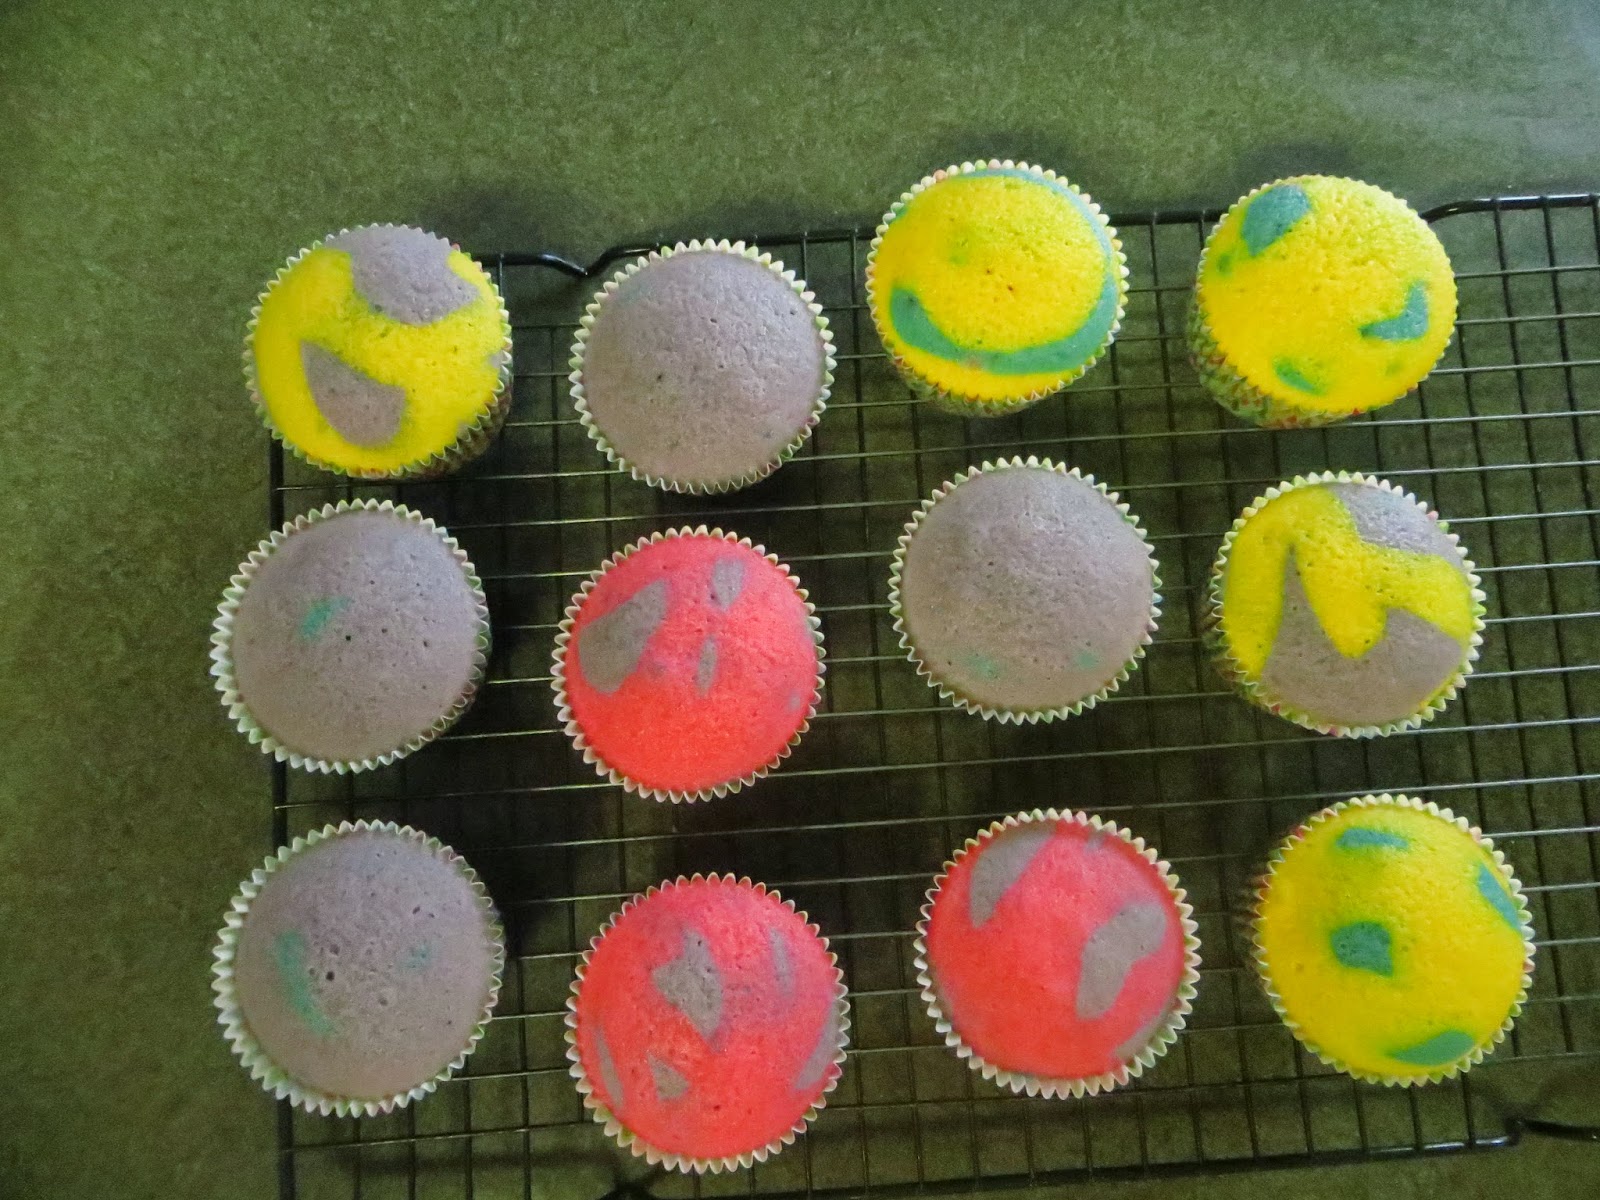
     April is here and that means baby chicks are hatching!  I wanted to make very colorful cupcakes for Easter that had birds nests and baby chicks. Not only are the tops colorful but the inside is also very colorful with a rainbow cake.  My daughter loved the surprise of the rainbow and wanted to give them to all her friends around the area.

       Let us get started with a simple vanilla cake batter:  Oven 350 degrees, bake for 12-15 minutes

1 stick of unsalted butter, room temp.
1 cup granulated sugar
2 med. sized eggs
1 tsp vanilla extract
1 1/2 cup flour
1 tsp. baking powder
1/4 tsp salt
1/3 cup milk

1. In an electric mixer cream together the butter and sugar for about three minutes.  You want this to be very fluffy.
2. Use a spatula to scrap the edges and then cream in the eggs one at a time. Add the vanilla once the eggs are well incorporated.
3.  In a small mixing bowl combine: flour, baking powder, and salt
4.  Slowly add 1/3 of the flour mixture to the cake batter, then add 1/3 of the milk combine well. Repeat this step till the flour and milk are all combined.
5. Divide the batter into four smaller bowls to color. Chose four food colors that remind you of spring.  Add just a small amount to the bowls and mix until well incorporated.
6. In four different gallon zip lock bags add the cake batters, also put cupcake wrappers into the cupcake pan.


7.  Snip off the corners of the bags to pipe batter into the cupcake wrappers.  I made different color patterns so they would be different.


8.  Bake, allow to cool, and decorate!!!

BIRD'S NEST

        Oh these were so much fun to make!!  Rice treat nests with a little chocolate drizzle and Easter chocolate eggs made these nests a great topping for the rainbow cupcakes.
Follow the instructions on the box on how to make rice treats.  I bought the chocolate covered rice cereal to make the nests look more like a real nest.
I used melting chocolate as a drizzle for the inside of the nest to look like sticks also to help hold the eggs in the nest.  Once put all together place in the fridge for a few moments to help set the chocolate.
Pipe a little bit of green butter cream frosting to the top of the rainbow cupcake and then add the birds nest.  Your family and friends will love your creative cupcakes!!

Tuesday, December 17, 2013

A Red Carpet Affair

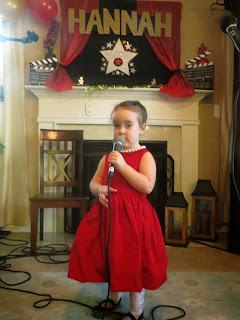
Just before Thanksgiving I was asked to make treats for a young ladies birthday party.  A Red Carpet affair was the theme and her mom did an amazing job putting this party together.  Follow along as I walk you through the party and then the treats.  I absolutely love planning and attending parties that are creative!!  This party was designed for 9-10 year old but my 3 year old just loved every moment of being a star.
When we arrived at the party we got to walk down a red carpet lined with chairs in wait for the fashion show. 
Once you entered the party a room was set up for make-overs and a photo shoot.  Each girl also received her own tube of lip stick which I was not so keen on for my three year old but she just loves to put it on so who can say no?? :)

As you went though the house there was a popcorn/snack station, face mask craft table, and talent show stage.  Along the floor each child who attended the party also had a star on the floor with their name on it.


Once the kids where full of tons of sugar they went outside for a fashion show. (there where many props for them to use during the walk)  My Little Olivia just became a right out diva for this walk way show. Just look at her in the picture....LOL


Now that we covered the party let us look at the treats what I was honored to make:
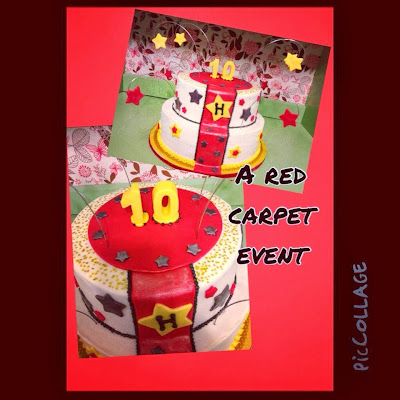
The cake was a red carpet cake with stars everywhere and the birthday girls age on the top.  It was a yellow cake with a choc. chip cookie dough filling

The cupcakes had a simple design but a fun filled frosting.  Yellow cake with nerd filled frosting and a yellow(white) chocolate star and white peals on top.

The three smaller treats where cake pops, Star sugar cookies (which I failed to take a picture of sorry), and chocolate dipped, cream cheese filled strawberries (the birthday girl's favorite)


Thank you Hannah for inviting us to your wonderful party and allowing me the honor of making your treats!!!

Saturday, October 19, 2013

Pumpkin Chocolate Chip Cookies

Chocolate chip cookies are my all time favorite cookie so I really wanted to turn it into a fall cookie.  Pumpkin puree was the best choice I thought so that is what I added into the cookie along with a few pumpkin pie spices.  These turned out to be one of the best Chocolate chip cookies I have ever had and you cannot even taste the pumpkin.  The spices do come out just a little bit but they give the cookie just a new level of goodness.

First you will need to get a pie pumpkin ( you can use the pumpkin puree in a can but I did not like the flavor it gave the cookies)  Cut the pumpkin in half and clean out.  Lay the inside of the pumpkin face down in a baking dish.  Add a little water to the base of the baking dish put into the oven at 350 degrees.  Bake until the meat of the pumpkin is soft.
Once the pumpkin comes out of the oven spoon the meat into a mixing bowl.  With a hand mixer whip the meat into a puree.  Add 1 teaspoon of pumpkin pie spice, 1/4 teaspoon nutmeg,  and 3 table spoons of heavy whipping cream, whip until nice and creamy.  Set aside to cool.

Time to get your cookie batter mixed.  Use an electric mixer for this part. :)
Ingredients:  
3/4 cup unsalted butter, softened to room temp.
3/4 cup dark brown sugar
1/4 cup sugar
1/2 cup of your pumpkin puree
1 large egg, at room temp.
2 teaspoon vanilla extract
2 cups all-purpose flour
2 teaspoon cornstarch
1 teaspoon baking soda
1/2 teaspoon salt
1 cup chocolate chips

Directions:    Oven at 350 degrees
1.  Combine butter, brown sugar, and regular sugar into the mixing bowl.  Mix on medium for one minute and make sure to scrape down the sides of the bowl.  Add in the pumpkin puree and mix for another minute.  Time to add in the egg and vanilla extract mix until well combined. 
2.  In a small bowl combine the dry ingredients flour, cornstarch, baking soda, and salt.  Slowly begin to add to the wet mixture and combine well.
3.  Time for the chocolate chips.  Add them in and fold, do not use the electric mixture. 
4. Drop balls onto the cookie sheet and bake for 10 minutes.
5.  EAT while hot or allow to cool.

Wednesday, October 16, 2013

Mickey Mouse Club House

My little girl just loves to watch Mickey Mouse Club house so when I was given a couple chances to make cakes for two parties I was excited.  Of course she was sad when they where not for her at the end, but she got her own cake pop for watching and helping me which always helps. :)
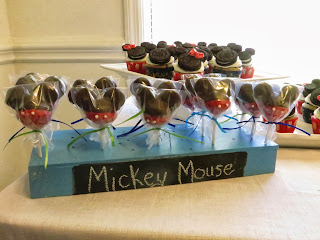
The first party was for a little girl who was turning four.  Her mom ordered a two tier cake, cupcakes, and cake pops.  I have already done an entry on how to make the cake pops, so please go check that one out on the how to.

I covered the cake in Butter cream frosting and used fondant for the decoration.  The Mickey hat on top was melting chocolate that I free handed.  I added tooth picks to the bottom of the hat in order to stick it into the cake.  The mickey heads (made with fondant) was cut out with a cookie cutter I found on eBay.


These cupcakes where so much fun and easy to do.  Buy regular and mini oreos, melting chocolate, and a bow mold for Minnie.  Lay out your cookies on a cookie sheet and with the melting chocolate pipe to attach the cookies together.  Place into the fridge to help the chocolate to harden.  Make your Minnie bows then attach them with a little extra melting chocolate.  Make sure to have them set before placing them on the cupcakes.


This next cake was made for a set of twins who where about to turn one.  This three tier cake was covered with butter cream again and decorated with fondant.  I made the house and hand glove by hand, the stars with a cookie cutter.  The stars on the top I used a thin wire so they looked like they where in the sky.